
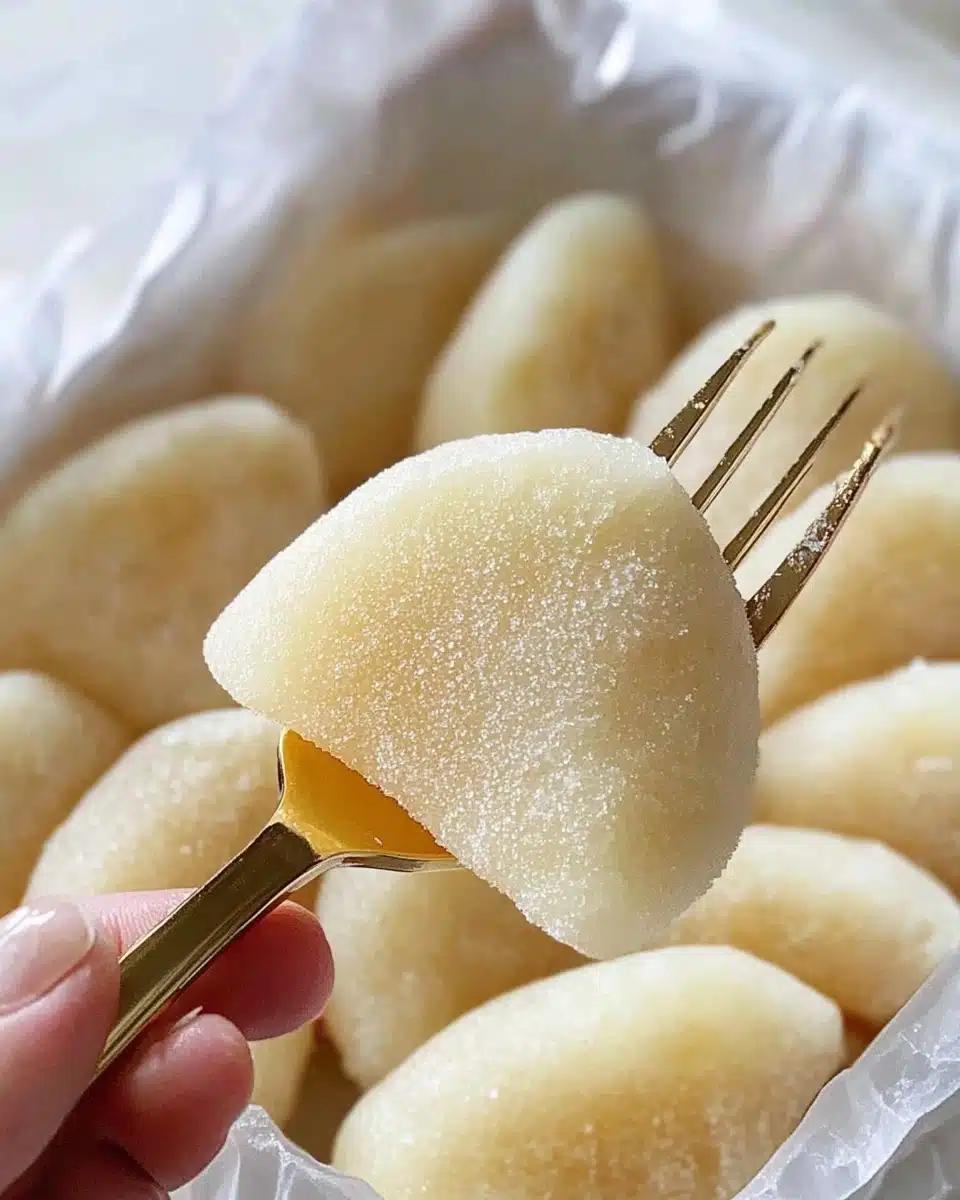
If there’s one dessert I always crave when I need a bite of chewy, pillowy comfort, it’s Milk Mochi. Silky-soft, delicately sweet, and so satisfyingly stretchy, this beloved treat brings together a handful of simple ingredients for an experience that’s pure joy in every bite. Whether you’re brand new to mochi or hunting for your next dessert obsession, Milk Mochi is gorgeous in its simplicity—plus, it’s way easier to make than you’d think!
Why You’ll Love This Recipe
- Incredibly Chewy & Soft: Every bite of Milk Mochi is bouncy and tender, with that satisfying stretch that’s almost addictive.
- Easy, Pantry-Friendly Ingredients: Everything you need is probably already in your pantry—which means you can whip up a batch whenever the craving hits!
- Versatile and Customizable: From the coating to the shape, you can have endless fun tweaking this recipe to suit your cravings or impress your guests.
- Perfect for Make-Ahead Desserts: Milk Mochi keeps beautifully fresh, which means you can share (or not share!) all week long.

Ingredients You’ll Need
You’ll be delighted to see how Milk Mochi comes together with a short and sweet list of humble ingredients. Each one plays a role in building that iconic soft bite, mild sweetness, and that signature stretchy, cloud-like texture.
- Glutinous Rice Flour: This is the magical ingredient that creates mochi’s chewy, elastic New Year’s texture (just make sure you use glutinous, not regular rice flour!).
- Cornstarch: Adds even more softness and helps develop a smoother, silkier dough while making the mochi easy to knead and cut.
- Sugar: Just enough to bring a light sweetness, keeping the mochi dessert-like without overpowering the milky flavor.
- Corn Oil: Locks in moisture, makes the final dough easy to work with, and delivers that signature glossy sheen.
- Whole Milk: The secret to the Milk Mochi’s creamy, rich flavor and beautiful pale color—it sets this treat apart from traditional water-based mochi.
- Roasted Soybean Flour (kinako): For dusting your finished pieces—this nutty, aromatic powder is classic and adds a toasty finish!
Variations
One of the sweetest joys of making Milk Mochi is just how customizable it can be! Tweak the flavor, swap coatings, or play with shapes tailored to any whim or special occasion.
- Matcha Milk Mochi: Sift in a teaspoon of matcha powder with the dry ingredients for a vibrant green hue and gentle earthy flavor.
- Coconut Milk Mochi: Substitute half or all of the whole milk with coconut milk for a subtle tropical twist and extra creamy bite.
- Mochi with Fruit Fillings: Add tiny cubes of fresh mango, strawberries, or even sweet red bean paste to the center before rolling for a hidden surprise.
- Cocoa Coating: Swap roasted soybean flour for unsweetened cocoa powder or powdered sugar for a modern (and chocolatey!) spin.
How to Make Milk Mochi
Step 1: Mix the Batter
In a large bowl, whisk the glutinous rice flour, cornstarch, sugar, corn oil, and whole milk together until the mixture is smooth and completely lump-free. Take your time—this little step ensures your Milk Mochi texture will be dreamy!
Step 2: Strain for Smoothness (Optional)
If you want extra-silky, flawless mochi, pour the prepared batter through a fine mesh strainer into another bowl. This removes any pesky clumps and guarantees a glossy finish after cooking.
Step 3: Cook the Mochi Dough
Transfer the batter into a non-stick pan and set it over low heat. Stir constantly, gently scraping the bottom and sides, until the mixture thickens up into a cohesive, sticky mass. Be patient: proper stirring is the secret to avoiding lumps and getting that classic stretch!
Step 4: Knead and Shape
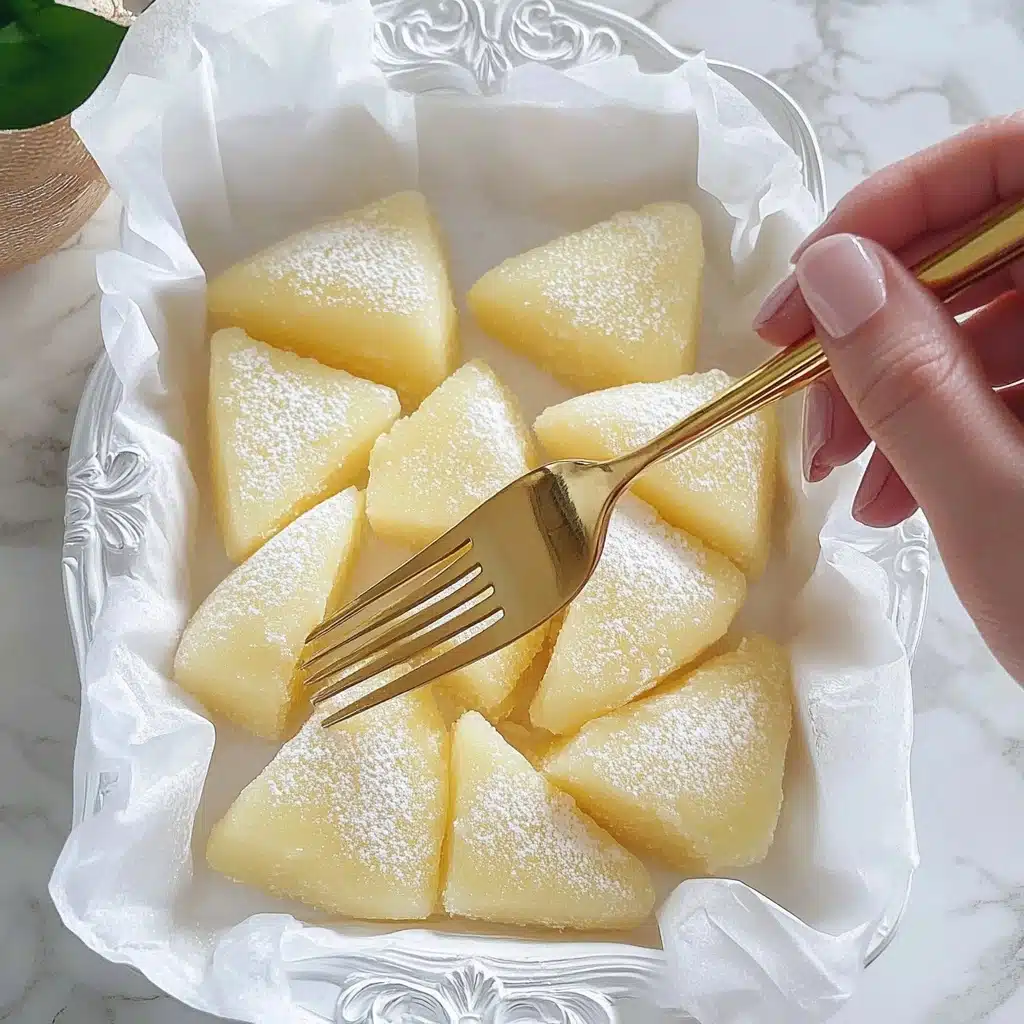
Let the cooked dough cool down enough to handle, then put on food-safe gloves. Knead for about 5 minutes, stretching and folding until it becomes smooth, glossy, and elastic—it should feel bouncy! Roll it out into a long log, dusting with cooked glutinous rice flour if needed, and slice into chunky triangles or whatever shapes make you smile.
Step 5: Coat and Enjoy
Toss the cut pieces in roasted soybean flour (kinako) while still slightly warm. This magical coating not only keeps Milk Mochi from sticking together but also adds an irresistible nutty aroma and a golden touch.
Pro Tips for Making Milk Mochi
- Super Smooth Batter: Whisk the mixture really well—if you spot even a tiny clump, keep going (or strain!) for the smoothest mochi possible.
- Low and Slow is Key: Never rush the stovetop cooking step—gentle, patient heat is what keeps your Milk Mochi tender and prevents burning.
- Play with Shape & Size: Feeling playful? Use cookie cutters for hearts, flowers, or stars—or slice into classic chunky triangles for that comforting homemade look.
- Don’t Skip the Coating: Whether it’s soybean flour or something else, always coat the mochi as soon as it’s cut. This keeps pieces from sticking and adds flavor too!
How to Serve Milk Mochi
Garnishes
The classic touch is a generous dusting of kinako (roasted soybean flour), but don’t be shy—Milk Mochi also loves a sprinkle of toasted sesame seeds, shredded coconut, or even a little drizzle of sweetened condensed milk for extra decadence. You can even add colorful sprinkles or powdered sugar for a festive spin.
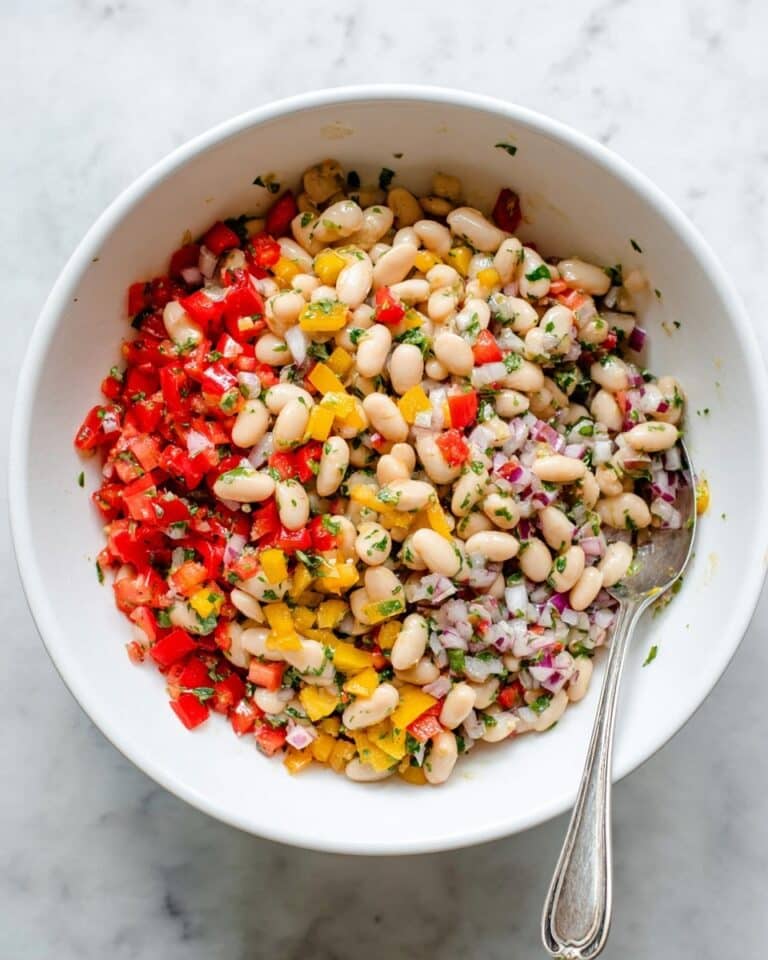
Side Dishes
Balance out the sweet, chewy goodness with some fresh fruit—think juicy strawberries or sliced kiwi—or serve alongside a steaming cup of genmaicha (toasted rice tea) or matcha latte. For a light afternoon treat, pair with a small bowl of azuki (sweet red bean) soup.
Creative Ways to Present
Milk Mochi makes the ultimate edible gift—wrap individual pieces in deli paper with a twine bow, arrange on a platter with edible flowers, or stack neatly in little cupcake liners for a tea party spread. For a modern twist, cut mochi into geometric shapes and serve them in a vibrant, artful mosaic on a slate board!
Make Ahead and Storage
Storing Leftovers
Milk Mochi will stay tender and lovely for up to three days at room temperature if kept in an airtight container. If your kitchen runs warm or humid, you can refrigerate in a tightly-sealed container for up to five days—just be sure to let it come back to room temp for the chewiest bite!
Freezing
Absolutely! Arrange cut pieces of mochi in a single layer on a lined tray and freeze until solid. Transfer to a zip-top bag, separating layers with parchment, and store for up to two months. To enjoy, simply thaw pieces at room temperature—no microwaving needed.
Reheating
Mochi is best at room temperature, but if yours has firmed up a bit in the fridge, give it a few quick seconds (5–10) in the microwave—just until soft again. Be careful not to overheat, or the mochi can lose its fabulous chew!
FAQs
-
Can I use regular rice flour instead of glutinous rice flour?
No, glutinous rice flour is essential for that signature chewy texture—regular rice flour will result in a crumbly texture and won’t stretch or bounce like real Milk Mochi.
-
What’s the best plant-based milk for making Milk Mochi dairy-free?
Full-fat, creamy plant milks like coconut or oat milk will work beautifully, keeping your mochi tender and rich while staying 100% dairy-free.
-
My mochi dough is too sticky—what should I do?
This is normal when it’s fresh! Dust your hands and work surface with cooked glutinous rice flour and keep a light touch—soon it’ll be easy to knead and cut.
-
Is there a way to make Milk Mochi without pan-cooking?
Yes—simply steam the batter in a heatproof dish until it firms up, then knead and cut as usual. This method gives you milk mochi with a bit softer finish and no risk of scorching on the stove!
Final Thoughts
If you’ve been searching for a no-fuss, rewarding dessert that wows with both flavor and fun, this Milk Mochi absolutely belongs in your kitchen. I hope you give it a try, play with the variations, and share the magic of homemade mochi with someone you love—it’s pure happiness, one chewy, creamy bite at a time!
Print
Milk Mochi Recipe
- Prep Time: 15 minutes
- Cook Time: 25 minutes
- Total Time: 40 minutes
- Yield: 4 servings
- Category: Stovetop
- Method: Stovetop
Description
This Milk Mochi recipe creates delightful, chewy, and slightly sweet treats that are perfect for snacking. Made with glutinous rice flour, cornstarch, sugar, corn oil, and whole milk, these mochi are soft and creamy with a hint of richness from the milk.
Ingredients
Dough:
- 150 g glutinous rice flour
- 30 g cornstarch
- 25 g sugar
- 20 g corn oil
- 290 g whole milk
Instructions
- Combine Ingredients: In a large bowl, combine glutinous rice flour, cornstarch, sugar, corn oil, and whole milk. Stir until well mixed.
- Strain (optional): Strain the mixture.
- Cook Mixture: Pour the mixture into a non-stick pan and cook over low heat, stirring slowly until fully cooked.
- Cool and Knead: Remove from the pan, let cool, then knead the dough for about 5 minutes until elastic.
- Shape and Coat: Roll the dough into a strip, cut into shapes, and coat with roasted soybean flour.


