

If you’re anything like me, you adore Halloween treats that are as fun to make as they are to eat—and this Spooky Halloween Oreo Bark Recipe fits the bill perfectly. It’s a no-fuss, visually stunning dessert that’s loaded with Halloween spirit and flavors everyone loves. Trust me, once you try this, it’ll become your go-to for parties or when you just want a sweet, spooky snack that’s practically effortless.
Why You’ll Love This Recipe
- Super Simple: With just a handful of ingredients and easy steps, this bark comes together in minutes.
- Perfect for Halloween: The festive Oreos, sprinkles, and eyeball candies make it a total crowd-pleaser for spooky celebrations.
- Customizable: You can swap toppings to suit your taste or pantry, making it as creative as you want.
- Kid-friendly: My family loves making this with the kids – it’s fun and safe, with no baking involved!

Ingredients You’ll Need
These ingredients come together perfectly—the creamy white chocolate sets a sweet, smooth stage for the crunchy, chocolatey Oreos and festive candies. When shopping, look for seasonal Halloween Oreos and sprinkles to amp up the fun factor.
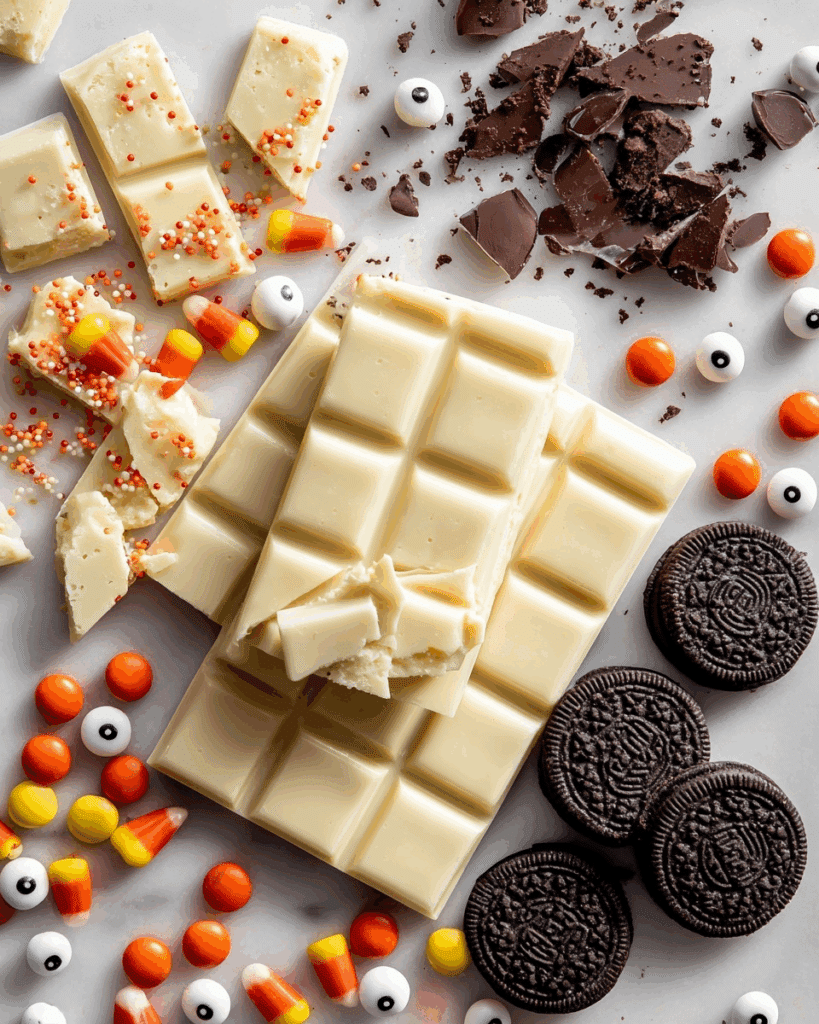
- White chocolate: I prefer good quality white chocolate bars or wafers as they melt more smoothly than chips.
- Halloween Oreos: These have that classic chocolate Oreo flavor but with fun, seasonal colors – chopping them gives great texture.
- Reese’s pieces: The peanut butter candy adds an unexpected and delicious twist to the sweetness.
- Halloween sprinkles: Tiny accents that bring a festive vibe and a bit of crunch.
- Halloween eyeball candies: These little guys deliver a spooky shock factor that my kids love!
Variations
I love playing around with this Spooky Halloween Oreo Bark Recipe—switching up toppings or chocolate bases is where the fun really begins. Feel free to make it your own and add a bit of your personality!
- Darker Chocolate Version: I swapped white chocolate for semi-sweet dark chocolate once, and it gave the bark a richer, less sweet flavor I enjoyed with coffee afterward.
- Nut-free Option: If you’re serving kids with allergies, just leave out the Reese’s pieces and add extra Oreos or festive candies.
- Extra Crunch: Adding chopped pretzels or even popcorn once—as a crazy experiment—brought a salty twist that my family surprisingly adored.
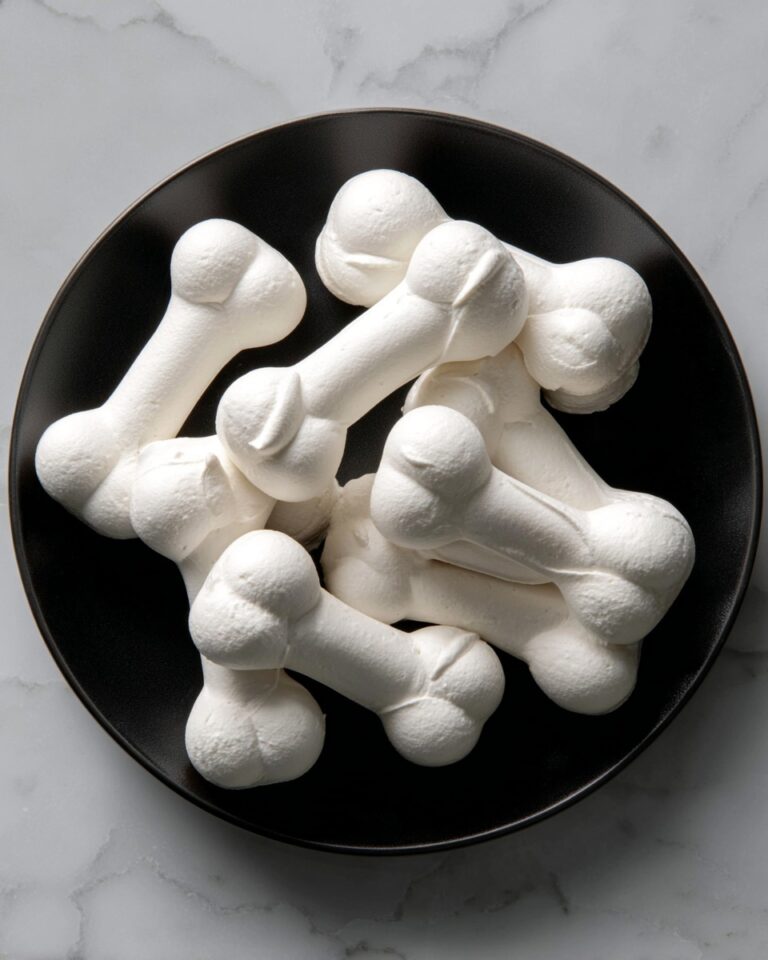
- More Spooky Decor: Feel free to add edible Halloween glitter or candy bones if you want to get extra festive.
How to Make Spooky Halloween Oreo Bark Recipe
Step 1: Melt the White Chocolate
Start by placing 12 ounces of white chocolate in a microwave-safe bowl. I always microwave mine in 30-second increments, stirring well in between. This technique prevents scorching the chocolate and keeps it silky smooth. You’ll notice the chocolate won’t melt completely after the first 30 seconds—keep stirring and microwaving until it’s mostly melted, then stir off heat to melt the rest with residual warmth.
Step 2: Spread the Chocolate on Parchment
Line a baking sheet with parchment paper. I usually use half a standard baking sheet here—it’s the perfect size for this amount of chocolate. Pour the melted white chocolate onto the parchment, then use an offset spatula or the back of a spoon to spread it evenly. Try to get a layer about 1/4 inch thick, but don’t worry too much if it’s a little uneven; it adds to the rustic charm.
Step 3: Add Your Toppings
Now for the fun part! Chop up 7 Halloween Oreos roughly into bite-sized pieces. Scatter those on top of the white chocolate, then sprinkle 1/4 cup of Reese’s pieces all over. Add your Halloween sprinkles and eyeball candies last. I like to gently press them into the chocolate so they stick well as it cools.
Step 4: Chill and Break
Pop the baking sheet into the fridge for about one hour. This gives the chocolate time to harden fully and the toppings to set in place. When it’s ready, simply break the bark into irregular chunks. I love that rustic, homemade look—you’ll find the different sizes make it perfect for sharing or snacking.
Pro Tips for Making Spooky Halloween Oreo Bark Recipe
- Take Your Time Melting Chocolate: Rushing this step often leads to burnt or grainy chocolate. Patience really pays off with a glossy finish.
- Use Parchment, Not Wax Paper: Wax paper can cause your bark to stick and tear when peeling. Parchment lets it release smoothly.
- Press in Toppings Lightly: Gently pressing your candies keeps them stuck but doesn’t cause the chocolate to thin out too much.
- Don’t Skip Refrigeration: Letting the bark set in the fridge—not just at room temp—ensures a crisp snap and prevents melting while you handle it.
How to Serve Spooky Halloween Oreo Bark Recipe

Garnishes
I like to add a sprinkle of extra Halloween-themed sugar sprinkles on top just before serving for that last sparkle. If you’re hosting a party, setting out small bowls of additional eyeball candies lets guests personalize their portions. A dusting of edible glitter can up the spooky factor, too!
Side Dishes
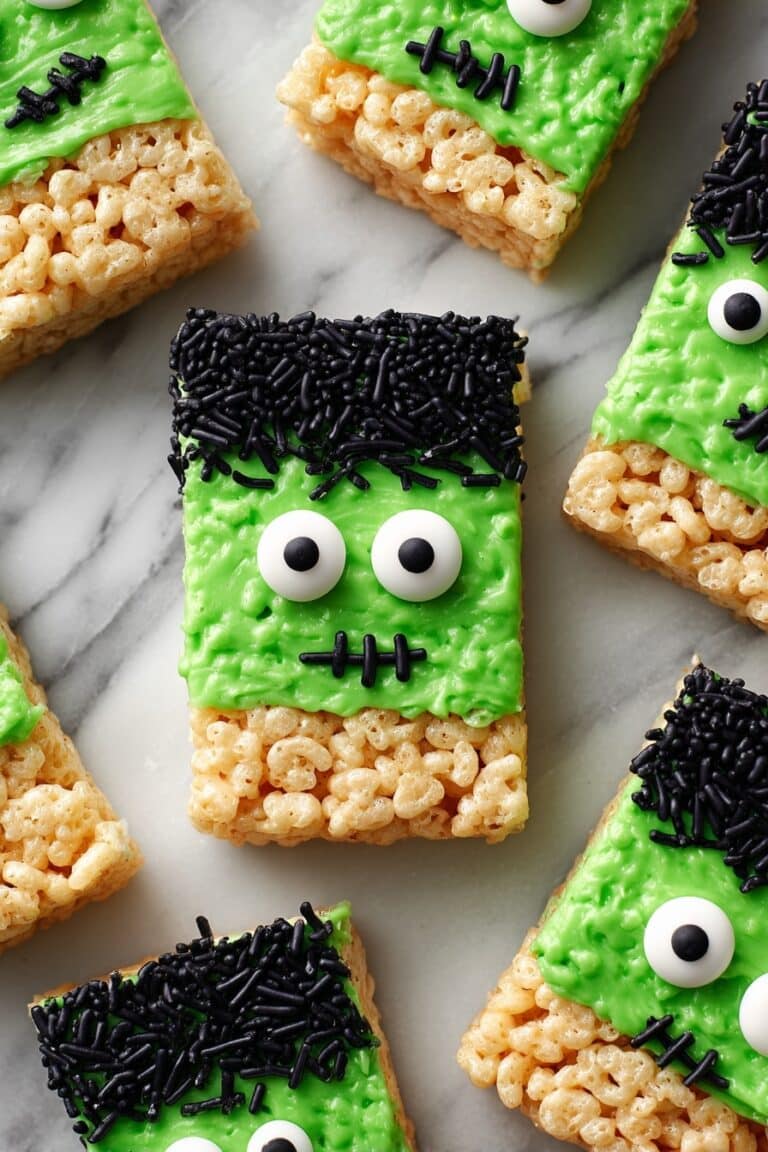
This Oreo bark pairs wonderfully with simple drinks like hot cocoa or spiced cider for a cozy vibe. At parties, I serve it alongside other Halloween treats like caramel apples or pumpkin-shaped cookies for a festive dessert spread.
Creative Ways to Present
Once, I wrapped broken chunks in clear cellophane tied with orange and black ribbons to hand out as party favors—it was a hit! You can also arrange pieces artfully on a spooky-themed platter or use mini treat bags for trick-or-treat giveaways.
Make Ahead and Storage
Storing Leftovers
Leftover bark keeps best in an airtight container, stored in a cool, dry place or the fridge if your kitchen tends to be warm. I usually layer pieces with parchment paper to avoid sticking. It stays fresh and crunchy for up to two weeks, which is perfect for snacking over time.
Freezing
I’ve frozen leftover bark wrapped tightly in plastic wrap inside a freezer bag. When thawed at room temp, it keeps its texture and flavor surprisingly well—great if you want to prep early for Halloween.
Reheating
This bark is best enjoyed as is—no reheating needed! If you want the chocolate softer for dipping, just let it sit at room temp for a few minutes. Microwave heating can easily melt the toppings, so I usually avoid that.
FAQs
-
Can I use regular Oreos instead of Halloween Oreos?
Absolutely! Regular Oreos work just fine—the Halloween versions just add extra festive color and design. If you want to keep it spooky without seasonal Oreos, try adding more Halloween-themed toppings instead.
-
What if I don’t have a microwave to melt the chocolate?
No worries! You can melt the white chocolate using a double boiler on the stove. Just stir constantly over simmering water until smooth—easy and effective.
-
Can I make this bark vegan or dairy-free?
Yes! Use dairy-free white chocolate alternatives and vegan-friendly Oreos (which they usually are). Just double-check your toppings to ensure everything fits your dietary preferences.
-
How long does the bark take to set?
About an hour in the fridge usually does the trick. If you’re in a hurry, you can chill it a bit longer to make sure it hardens fully before breaking.
-
Can kids help make this recipe?
Definitely! Kids will love helping with sprinkling toppings and breaking the bark after it sets. Just supervise around the hot melted chocolate step for safety.
Final Thoughts
This Spooky Halloween Oreo Bark Recipe is one of those magical treats that’s quick, fun, and totally crowd-pleasing. I can’t tell you how many times I’ve made it last minute for get-togethers or when my kids wanted a sweet Halloween snack with minimal fuss. Once you see how beautifully it comes together and how much everyone loves it, I’m sure you’ll be adding it to your Halloween traditions too. So go ahead, make it, share it, enjoy every spooky bite!
Print
Spooky Halloween Oreo Bark Recipe
- Prep Time: 5 minutes
- Cook Time: 0 minutes
- Total Time: 65 minutes
- Yield: 10 servings
- Category: Dessert
- Method: No-Cook
- Cuisine: American
Description
This Spooky Halloween Oreo Bark is a festive and delicious treat perfect for Halloween celebrations. Creamy white chocolate is combined with chopped Halloween Oreos, Reese’s Pieces, fun sprinkles, and eyeball candies to create a visually striking and tasty dessert bark. Easy to make and no-bake, this sweet treat is perfect for parties or a fun family snack.
Ingredients
White Chocolate Base
- 12 oz white chocolate
Toppings
- 7 Halloween Oreos, chopped
- 1/4 cup Reese’s Pieces
- Halloween sprinkles, as desired
- Halloween eyeball candies, as desired
Instructions
- Melt the White Chocolate: Place the white chocolate in a microwave-safe bowl and heat it in 30-second increments, stirring well after each interval until the chocolate is completely melted and smooth.
- Spread the Chocolate: Pour and evenly spread the melted white chocolate onto a parchment-lined baking sheet, using about half of the sheet for best thickness and ease of chilling.
- Add Toppings: Sprinkle the chopped Halloween Oreos, Reese’s Pieces, Halloween sprinkles, and eyeball candies evenly over the melted chocolate layer, pressing lightly to ensure they stick.
- Chill the Bark: Place the baking sheet in the refrigerator and chill for at least 1 hour, or until the chocolate is completely set and firm.
- Break and Serve: Once set, break the bark into desired pieces and enjoy this festive Halloween treat.
Notes
- Ensure the white chocolate is completely melted and smooth before spreading for best results.
- Use parchment paper on the baking sheet to prevent sticking and for easy removal.
- You can customize the toppings with other Halloween candies of your choice.
- Store leftover bark in an airtight container in the refrigerator to keep it fresh.
- If you don’t have Halloween-themed Oreos, regular Oreos work as a substitute.
Nutrition
- Serving Size: 1 piece (approx. 1/10 of bark)
- Calories: 250
- Sugar: 22g
- Sodium: 90mg
- Fat: 15g
- Saturated Fat: 9g
- Unsaturated Fat: 5g
- Trans Fat: 0g
- Carbohydrates: 25g
- Fiber: 1g
- Protein: 2g
- Cholesterol: 10mg


