

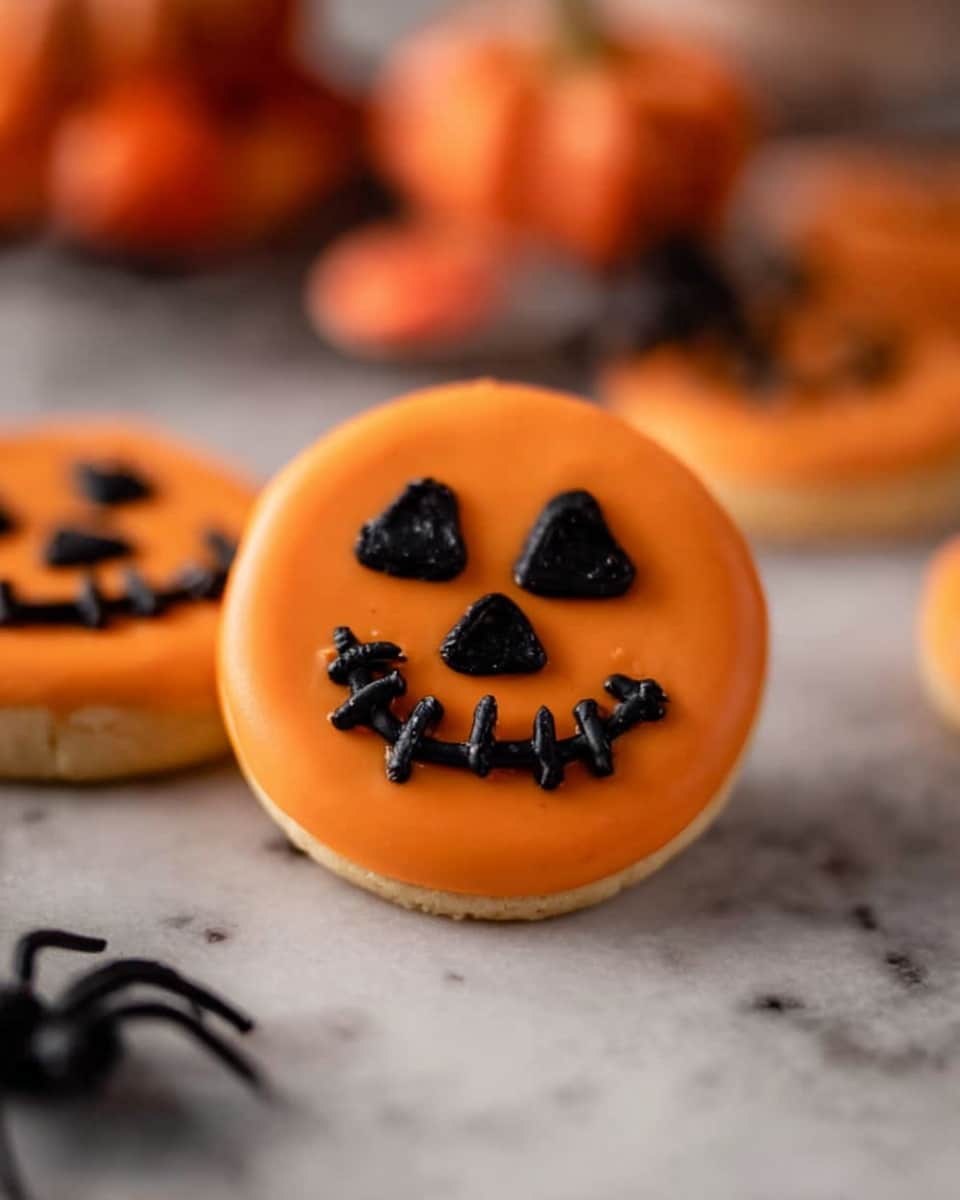
If you’re on the hunt for a fun, festive treat that’s ridiculously easy yet absolutely adorable, you’re going to LOVE this Easy Spooky Halloween Chocolate-Covered Oreos Recipe. Seriously, these Oreos dressed in Halloween colors and spooky sprinkles will have your family and friends squealing with delight! I’ve tried dozens of Halloween snacks, but this one always steals the show—plus, it’s super quick to throw together. Let me walk you through how to make these little frightfully sweet delights that look amazing and taste even better.
Why You’ll Love This Recipe
- Super Simple: You only need a handful of ingredients and a few easy steps, perfect for last-minute treats.
- Eye-Catching & Festive: The colorful candy melts and spooky sprinkles make these Oreos party-ready and Instagram-worthy.
- Kid-Friendly Fun: Your little goblins can help decorate, making it a fantastic activity for a Halloween get-together.
- Versatile Design Options: Whether you want mummy wraps, eyeballs, or simple drizzles, you can customize your spooky look.

Ingredients You’ll Need
Choosing quality ingredients really makes these Halloween chocolate-covered Oreos pop. I like to use candy melts because they melt smoothly and hold their shape nicely. Plus, grabbing fun Halloween-themed sprinkles can add that extra spooky personality.
- Oreos: Classic choice and perfect cookie base for the creamy, crunchy combo.
- White candy melts or white chocolate: Great for mummy designs and drizzles; melts easily and offers a clean color canvas.
- Orange candy melts: Perfect to bring those Halloween vibes with bright, festive orange.
- Chocolate chips or black candy melts: Use these for a dark, spooky pop or to create silhouettes.
- Green candy melts: Add a fun splash of color for monsters or witches’ themes.
- Assorted Halloween sprinkles (like candy eyes, sprinkles): These little decorations take your Oreos from tasty to creepy-cute in seconds!
Variations
I love switching things up with this recipe depending on the mood or who I’m serving. Feel free to personalize and play around; that’s part of the fun! You can take these spooky Oreos in so many directions.
- Gluten-Free: I’ve swapped regular Oreos with gluten-free ones when I needed a GF option—it works just as well and keeps everyone happy!
- Vegan Version: Using vegan candy melts and Oreos (which are typically vegan) lets you cater to plant-based friends.
- Flavor Twists: I sometimes add a pinch of cinnamon or pumpkin spice to the melted candy to infuse subtle fall flavors.
- Extra Creepy: For a spooky vibe, try using edible markers to draw spider webs or little faces after dipping.
How to Make Easy Spooky Halloween Chocolate-Covered Oreos Recipe
Step 1: Get Ready with Your Workspace
Before you start dipping, line a baking sheet with parchment paper—this will keep your Oreos from sticking and help the coatings set perfectly. Trust me, this little prep step saves a lot of cleanup later, and you’ll want a clean workspace when you’re juggling multiple colors.
Step 2: Melt Your Candy Melts One at a Time
Melt each candy melt separately in a microwave-safe bowl in 30-second increments, stirring in between. This slow melting method helps prevent burning and ensures a silky smooth dip. I like to start with the color I’ll use first, usually white for the mummy Oreos or orange for a classic Halloween look.
Step 3: Dip and Decorate Your Oreos
Using a chocolate dipping fork (or a regular fork works fine too), dunk each Oreo into the melted candy, flipping it carefully to coat both sides. Gently tap off any excess chocolate by lifting the fork and letting it rest against the bowl—this keeps the coating even and not too thick.
Place your dipped Oreos onto the parchment-lined baking sheet. Now the fun part: decorate immediately with your spooky sprinkles or candy eyeballs. For the mummy design, dip Oreo in white melts, add eyeballs, chill, then drizzle more white melts on top for that bandage look and chill again. This layered effect always wows my guests!
Step 4: Chill and Set
Pop your decorated Oreos in the fridge to set the candy coating, usually about 10-15 minutes does the trick. This step is crucial if you want neat, firm chocolate shells without smudging. If you’re in a hurry, putting them briefly in the freezer works too—just watch closely so they don’t crack.
Pro Tips for Making Easy Spooky Halloween Chocolate-Covered Oreos Recipe
- Melting Patience: I learned that melting candy melts slowly in short bursts helps avoid grainy or burnt chocolate—don’t rush it!
- Use a Cooling Rack: For extra crisp edges, try placing dipped Oreos on a cooling rack over parchment so excess drips off beautifully.
- Decorate Quickly: Candy melts harden fast, so have your sprinkles and eyes ready to go right after dipping.
- Avoid Moisture: Make sure Oreos are completely dry before dipping—moisture can cause candy melts to seize up or not stick properly.
How to Serve Easy Spooky Halloween Chocolate-Covered Oreos Recipe
Garnishes
I usually go heavy on candy eyeballs because they freakily bring the Oreos to life; they’re super easy to find around Halloween. Sometimes I add little edible glitter or black sugar sprinkles to give a touch of shimmer and texture that kids love.
Side Dishes
Pairing these Oreos with warm apple cider or a creamy pumpkin spice latte always feels like the perfect Halloween spread in my house. If you’re hosting a party, a simple bowl of mixed nuts or popcorn balls complements the sweetness nicely.
Creative Ways to Present
One Halloween tradition I started is serving these Oreos on a cake stand surrounded by fake cobwebs and plastic spiders—so simple yet such a fun effect! You could also use small cupcake liners or arrange them on tiered trays for an eye-catching dessert table centerpiece.
Make Ahead and Storage
Storing Leftovers
I store leftover Oreos in an airtight container at room temperature, layering parchment paper between layers to keep them from sticking. They stay fresh and crisp for about 3-4 days, making them a great treat you can enjoy even after the party’s over.
Freezing
I’ve frozen dipped Oreos before by placing them in a single layer on a tray to freeze, then transferring to an airtight bag. They thaw quickly on the counter and taste just as delicious—perfect if you want to prep ahead of time.
Reheating
No need to reheat these guys! They’re best enjoyed at room temperature for that perfect crunchy and creamy combo. Just let frozen Oreos thaw naturally—avoid microwaving since that can melt your candy coating.
FAQs
-
Can I use regular chocolate instead of candy melts for this recipe?
Absolutely! You can substitute candy melts with good-quality white, dark, or colored chocolate. Just be mindful that regular chocolate can be a bit trickier to melt and may require tempering for the best shine and snap. Candy melts are more forgiving and easier for beginners.
-
How do I prevent the candy coating from cracking?
Make sure to let the candy melts cool slightly before dipping so they’re not too hot, which can cause cracks as they set. Also, avoid stacking dipped Oreos before they’re fully hardened to keep coatings smooth and intact.
-
Can kids help make these Easy Spooky Halloween Chocolate-Covered Oreos?
Definitely! Kids love dipping and decorating these Oreos, though younger ones might need help with the hot candy melts. It’s a fantastic way to get everyone into the Halloween spirit together.
-
What should I do if my candy melts are too thick?
If your candy melts get too thick, try stirring in a small amount of vegetable oil or shortening to thin them out. Heat gently in short bursts and stir consistently for smooth dipping.
Final Thoughts
I absolutely love how effortlessly festive and adorable these Easy Spooky Halloween Chocolate-Covered Oreos turn out—and how much joy they bring to my family and friends every Halloween. Whether you’re making them as a quick treat or part of a larger party spread, I’m confident you’ll enjoy the process and the delightful results as much as I do. So grab those Oreos, melt some candy, and get ready to create spooky sweet magic that’ll have everyone asking for seconds!
Print
Easy Spooky Halloween Chocolate-Covered Oreos Recipe
- Prep Time: 20 minutes
- Cook Time: 0 minutes
- Total Time: 20 minutes
- Yield: 36 servings
- Category: Dessert
- Method: No-Cook
- Cuisine: American
Description
Create spooky Halloween treats with these easy-to-make chocolate-covered Oreos. Using colorful candy melts in white, orange, black, and green, these festive cookies are perfect for Halloween parties and family fun. Decorate with Halloween-themed sprinkles and candy eyes to add a creepy, delicious touch.
Ingredients
Oreos
- 1 package Oreos (36 Oreos)
Candy Melts & Chocolate
- 6 oz white candy melts or white chocolate
- 6 oz orange candy melts
- 6 oz chocolate chips or black candy melts
- 6 oz green candy melts
Decorations
- Assorted Halloween sprinkles (candy eyes, spooky sprinkles)
Instructions
- Prepare the workspace: Line a baking sheet with parchment paper and set it aside for placing the decorated Oreos.
- Melt the candy melts: In a microwave-safe bowl, melt one color of candy melts or chocolate at a time in 30-second increments, stirring between each until smooth. Use one color before moving to the next for easier handling.
- Dip the Oreos: Using a chocolate dipping fork, dip each Oreo into the melted candy, flipping carefully to coat both sides evenly. Lift the Oreo and gently tap the fork on the bowl’s edge to remove excess chocolate.
- Decorate and set: Place the dipped Oreo on the parchment-lined baking sheet. Decorate immediately with Halloween-themed sprinkles and candy eyes while the coating is still wet.
- Create mummy Oreos: For a mummy design, first dip Oreos in white candy melts, add candy eyes, and chill to set. Then drizzle additional melted white candy melts over the top and chill again for a layered mummy effect.
- Repeat: Continue the dipping, decorating, and chilling process with all the Oreos and candy melt colors until complete.
Notes
- Melt candy melts slowly to avoid burning—stir between each microwave interval.
- Use chocolate dipping forks or toothpicks for precise dipping and decoration.
- Chill the cookies after decorating to allow candy melts to harden quickly.
- Customize decorations with your favorite Halloween sprinkles or food colorings for added fun.
- Store finished Oreos in an airtight container at room temperature to maintain crispness.
Nutrition
- Serving Size: 1 Oreo
- Calories: 130
- Sugar: 18g
- Sodium: 90mg
- Fat: 6g
- Saturated Fat: 4g
- Unsaturated Fat: 2g
- Trans Fat: 0g
- Carbohydrates: 19g
- Fiber: 1g
- Protein: 1g
- Cholesterol: 5mg


