
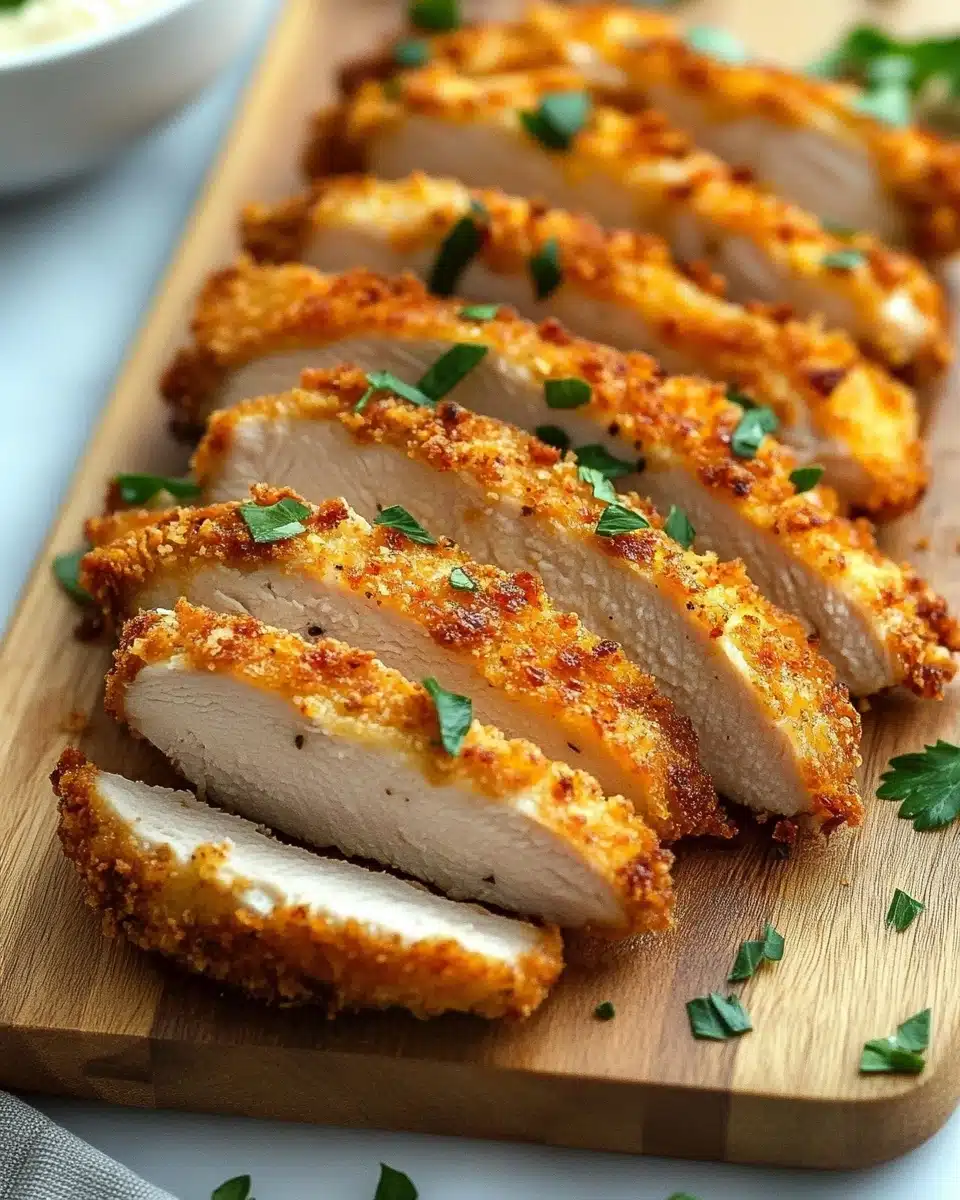
Looking for a fuss-free, crowd-pleasing dinner? This Baked Panko Chicken is outrageously crisp on the outside, juicy inside, and bursting with flavor from a few clever pantry staples. Say goodbye to sad, soggy chicken—this recipe is a weeknight hero that will win over even the pickiest eaters!
Why You’ll Love This Recipe
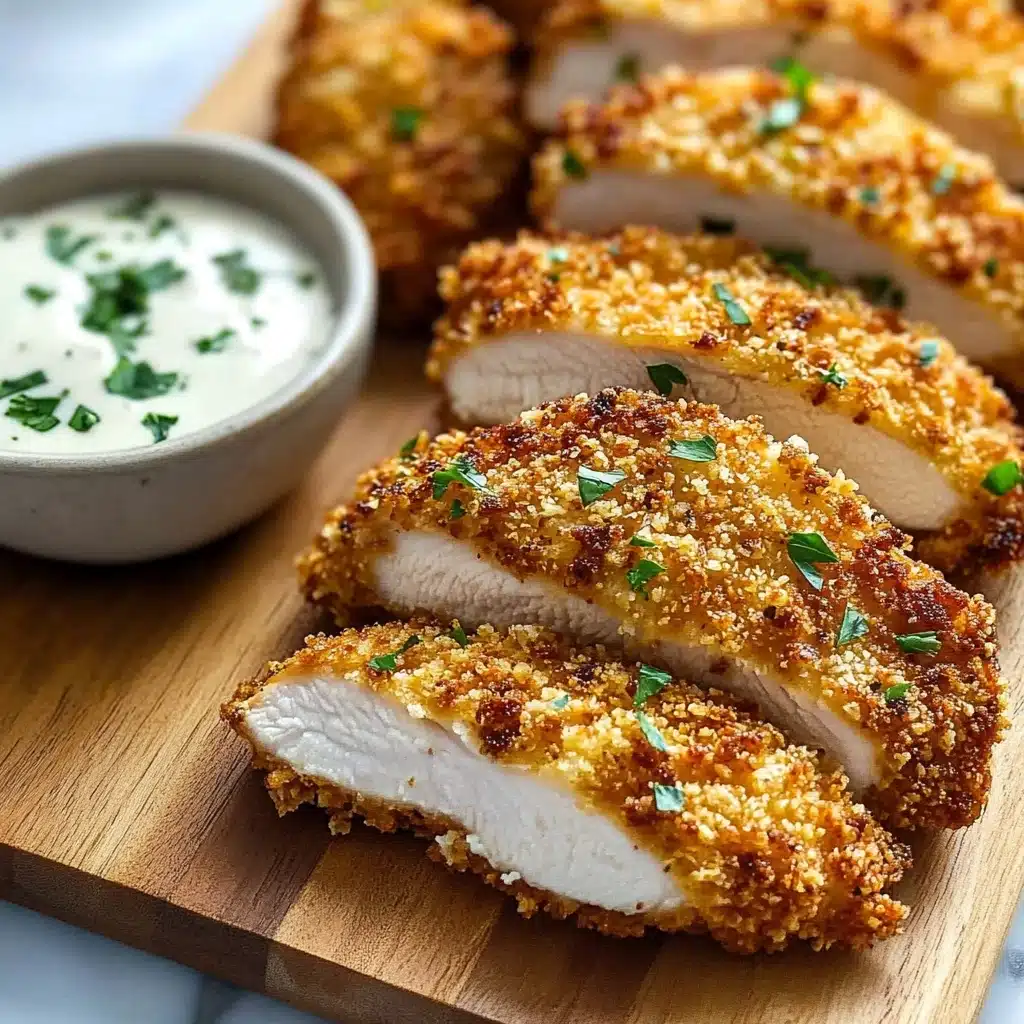
- Seriously Crispy, Every Time: The panko coating creates an unbeatable, golden crust that oven-bakes to crunchy perfection—no frying mess required!
- Big Flavor, Simple Pantry Staples: Just a handful of everyday ingredients yield bold Italian-inspired taste your family will crave all week long.
- Super Fast & Family Friendly: With about 15 minutes of prep and zero complicated steps, this meal is perfect for busy weeknights or casual gatherings alike.
- No Dry Chicken Here: The clever mayonnaise coating locks in moisture, guaranteeing juicy, tender chicken every single time.

Ingredients You’ll Need
You’ll love how a short, smart list of staple ingredients comes together to make magic with this Baked Panko Chicken. Each ingredient is chosen for maximum crunch, flavor, and mouthwatering color—there’s no room for bland here!
- Panko breadcrumbs: These Japanese-style breadcrumbs are the secret to that ultra-crispy crust you just can’t get from regular breadcrumbs.
- Grated Parmesan cheese: Adds savory depth and a salty edge that pairs beautifully with the crunchy panko.
- Garlic powder & onion powder: Essential for that gentle aromatic boost without any harsh bites.
- Dried oregano or Italian seasoning: Dried herbs bring irresistible Italian flair—use your favorite blend!
- Paprika (optional): Lends beautiful golden color plus a subtle warmth. Highly recommended!
- Salt & freshly ground black pepper: Just enough to balance and enhance all the flavors.
- Boneless, skinless chicken breasts: Lean, quick-cooking, and the perfect blank canvas for that boldly crisp coating.
- Mayonnaise: The game-changer for juicy, never-dry baked chicken and the perfect glue for the panko.
- Olive oil or cooking spray: Just a little drizzle or spritz helps the panko achieve oven-baked crunch.
Variations
One of the biggest perks of Baked Panko Chicken? It’s endlessly customizable. You can swap seasonings, boost the spice, or even change up the protein for completely new flavors that fit your mood or pantry situation.
- Gluten-Free: Use gluten-free panko breadcrumbs for a totally gluten-free version without sacrificing crunch.
- Extra Zing: Add a pinch of cayenne or crushed red pepper flakes to the panko mixture for a subtle heat that wakes up your taste buds.
- Make It Cheesy: Mix in a bit of shredded mozzarella with the parmesan for an extra-melty, cheesy crust.
- Chicken Tenders or Thighs: Swap breasts for tenders for kid-friendly strips, or use boneless, skinless thighs for an ultra-juicy result.
How to Make Baked Panko Chicken
Step 1: Prep the Oven and Baking Sheet
Preheat your oven to 400°F (200°C), and line a large baking sheet with parchment or foil for easy cleanup. If you’d rather, a light mist of cooking spray on the sheet works, too. This quick prep step guarantees your Baked Panko Chicken lifts right off the pan perfectly crisp, never stuck!
Step 2: Mix Up the Flavorful Panko Coating
In a wide, shallow dish, combine the panko, parmesan, garlic and onion powders, dried oregano or Italian seasoning, paprika, salt, and pepper. Stir it all together—your kitchen will instantly smell like dinnertime is about to get exciting. This layer is where all the crispy, golden flavor magic happens!
Step 3: Coat the Chicken
Pat the chicken breasts nice and dry with paper towels (this helps the coating stick!). Slather a thin, even layer of mayonnaise on both sides of each piece. Now, press each chicken breast firmly into the panko mixture, making sure to coat every nook and cranny. You want a thick, even layer for maximum crunch.
Step 4: Arrange and Crisp
Transfer the chicken to your prepared baking sheet, spacing the pieces a bit so they crisp up all over. Lightly drizzle olive oil (or spritz with cooking spray) over the tops—this is the secret to restaurant-quality golden crunch, right in your oven.
Step 5: Bake and Broil for Perfection
Bake for 20–25 minutes, or until the coating is deep golden and the chicken’s internal temperature is 165°F. For next-level crispiness, turn the broiler on high for the final 1–2 minutes—just keep a close eye to avoid burning. Let your gorgeous Baked Panko Chicken rest a few minutes, then dive in!
Pro Tips for Making Baked Panko Chicken
- Perfect Panko Crunch: Toast your panko in a dry skillet for 2–3 minutes before breading for extra-deep golden color and crispier texture.
- Uniform Chicken Thickness: Pound thicker areas of the chicken breasts to an even 3/4-inch thickness so the chicken cooks evenly and faster.
- No Soggy Bottoms: Always elevate your chicken on a wire rack set over the baking sheet if you want the crunchiest crust all the way around.
- Broil for the Finale: Don’t skip the quick broil at the end—just 1–2 minutes makes the panko irresistibly crisp and golden.
How to Serve Baked Panko Chicken
Garnishes
You can’t go wrong with a final flourish of fresh chopped parsley or basil for a burst of color and herbal brightness. A light shaving of extra parmesan and a squeeze of lemon juice right before serving take your Baked Panko Chicken over the top with freshness.
Side Dishes
This chicken loves just about any side, but it’s especially dreamy with garlicky roasted potatoes, a bright green salad, or buttery spaghetti tossed with olive oil. It’s also perfect atop a Caesar salad for a hearty lunch or tucked into a sandwich the next day.
Creative Ways to Present
Try slicing your Baked Panko Chicken and piling it high on a platter “family-style,” or serve it whole for that wow-factor golden crust. Feeling playful? Cut the chicken into tenders before breading for easy dipping—ideal for parties and little hands!
Make Ahead and Storage
Storing Leftovers
Let any leftover chicken cool to room temperature, then store it in an airtight container in the fridge for up to 3 days. The coating stays surprisingly crisp, and you’ll have a delicious, ready-to-go lunch or snack.
Freezing
Baked Panko Chicken freezes beautifully! Arrange cooled chicken on a tray, freeze until solid, then transfer to a freezer bag. It’ll keep its marvelous crunch in the freezer for up to 2 months—perfect for meal prep.
Reheating
For best results, reheat leftovers in a 375°F oven or toaster oven for 8–10 minutes. This re-crisps the panko beautifully and restores that just-baked taste. The microwave works in a pinch, but you’ll lose that signature crunch.
FAQs
-
Can I use chicken thighs instead of breasts?
Absolutely! Boneless, skinless chicken thighs work beautifully and may be even more juicy. You might need to add a few extra minutes to the baking time, so keep an eye on the internal temperature.
-
What can I substitute for mayonnaise?
If you want to avoid mayo, try substituting plain Greek yogurt or even sour cream. Either will help keep the chicken moist and help the panko stick.
-
Can this Baked Panko Chicken be made ahead?
Yes! You can bread the chicken earlier in the day and refrigerate it, covered, until ready to bake. Wait to drizzle with oil until just before it goes in the oven for optimal crispiness.
-
How do I know when the chicken is done?
Baked Panko Chicken is done when the internal temperature hits 165°F on a meat thermometer and the coating is deeply golden. Let it rest for a few minutes before serving for the juiciest results.
Final Thoughts
I truly hope this Baked Panko Chicken becomes your new go-to for easy, satisfying dinners. Give it a try, and watch your family gather around the table with big smiles (and even bigger appetites!). Enjoy every crunchy, flavorful bite—you’ll definitely want to make this on repeat!
Print
Baked Panko Chicken Recipe
- Prep Time: 15 minutes
- Cook Time: 25 minutes
- Total Time: 40 minutes
- Yield: 4 servings
- Category: Baking
- Method: Baking
Description
This Baked Panko Chicken recipe is a delicious and easy way to prepare juicy chicken with a crispy, golden crust. Coated in a flavorful mixture of panko breadcrumbs, Parmesan cheese, and seasonings, this dish is sure to become a family favorite.
Ingredients
For the Chicken:
- 1 cup panko breadcrumbs
- 1/4 cup grated Parmesan cheese
- 1/2 teaspoon garlic powder
- 1/2 teaspoon onion powder
- 1 teaspoon dried oregano or Italian seasoning
- 1 teaspoon paprika (optional, for color and flavor)
- 1/2 teaspoon salt
- 1/4 teaspoon freshly ground black pepper
- 4 boneless, skinless chicken breasts (about 6 ounces each)
- 1/4 cup mayonnaise
- 2 tablespoons olive oil (or cooking spray, for crisping the panko)
Instructions
- Preheat the oven: Preheat the oven to 400 degrees Fahrenheit. Line a baking sheet with parchment paper or lightly grease it with cooking spray.
- Prepare the coating: In a shallow bowl or large plate, combine the panko, grated Parmesan, garlic powder, onion powder, oregano or Italian seasoning, paprika, salt, and pepper. Mix well.
- Coat the chicken: Pat the chicken breasts dry, then spread a thin layer of mayonnaise on both sides. Press each breast into the panko mixture, ensuring an even coating.
- Bake: Arrange the breaded chicken on the baking sheet, drizzle with olive oil or cooking spray, and bake for 20–25 minutes until golden and cooked through.
- Broil (optional): For extra crispiness, broil the chicken for 1–2 minutes at the end of cooking.
- Rest and serve: Remove from oven, let the chicken rest for a few minutes, then slice and serve with your favorite sides.

