
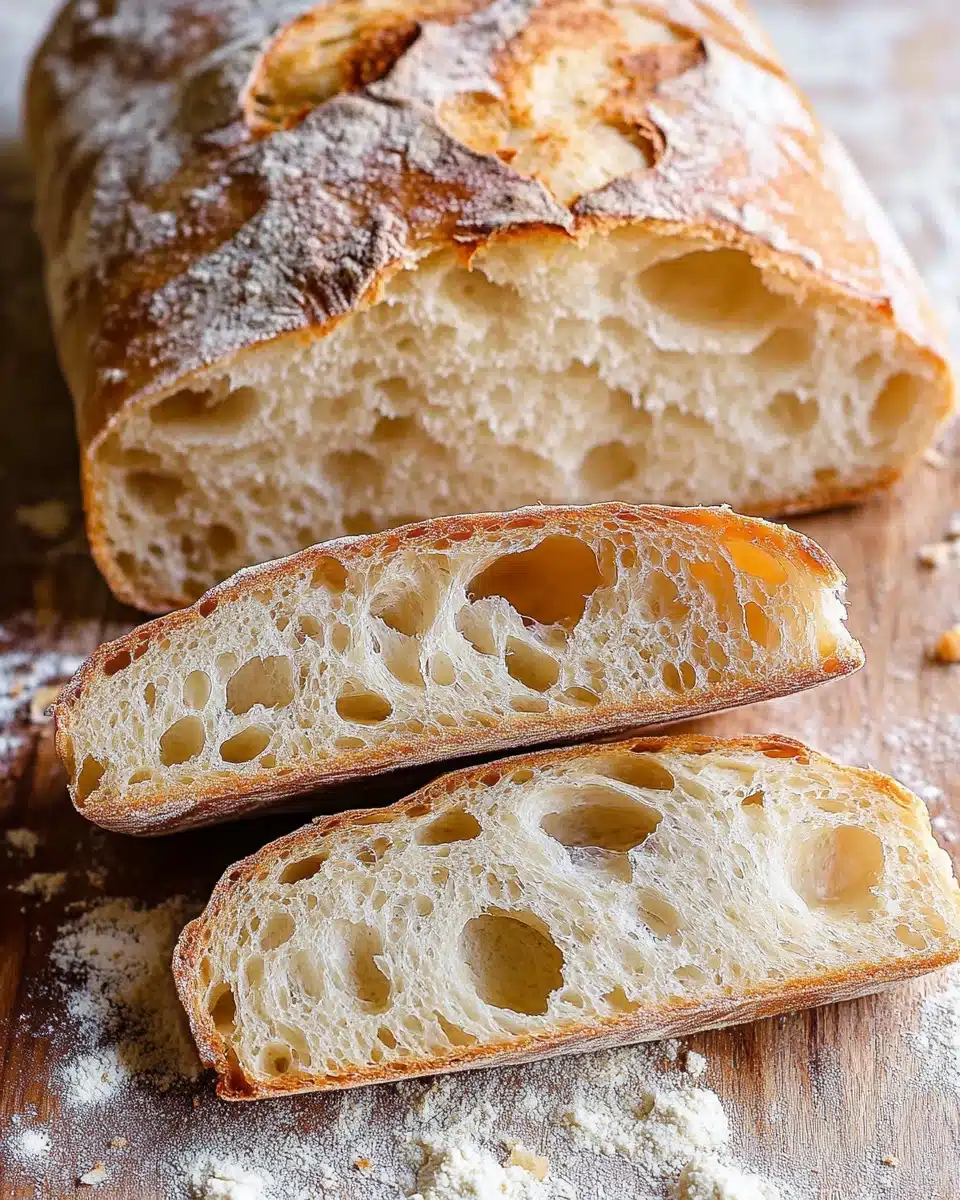
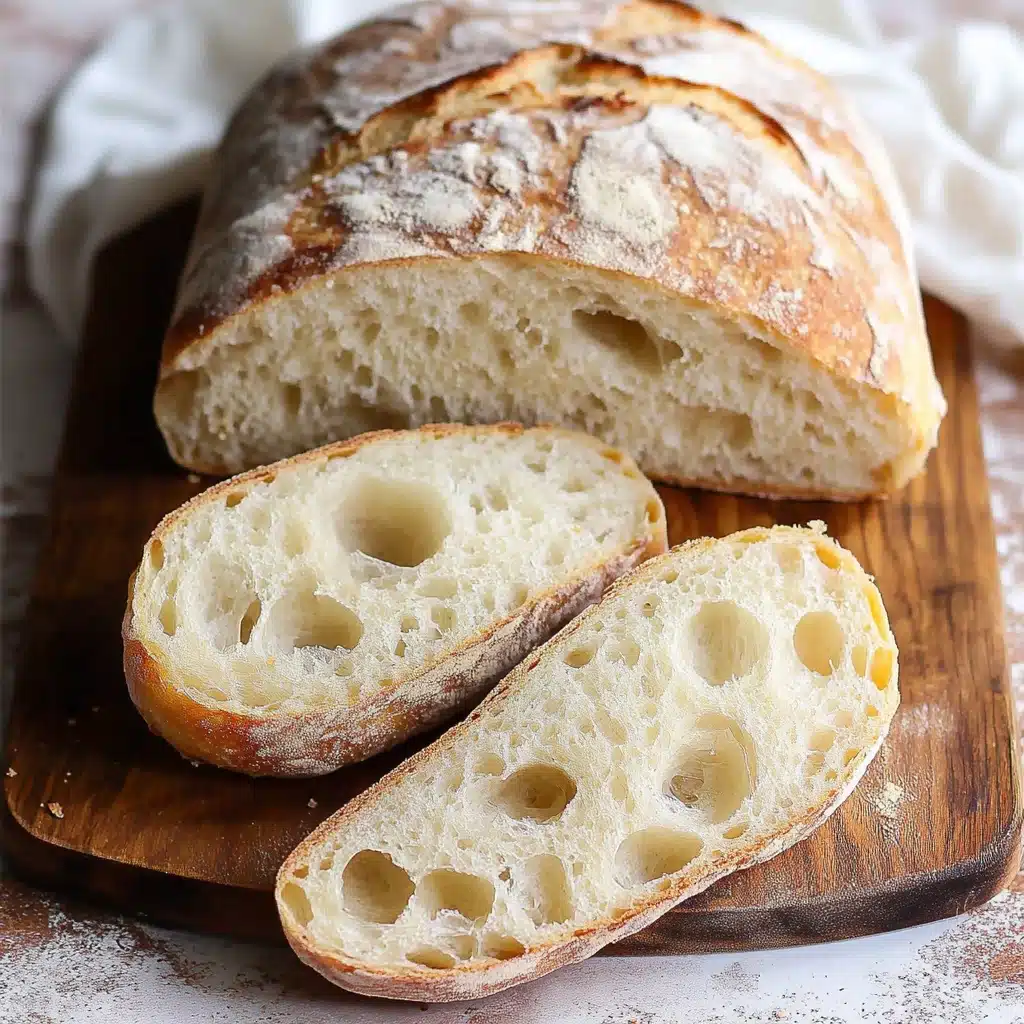
Let’s talk bread bliss: this homemade Ciabatta Bread is chewy, rustic, and brimming with charm from its crisp crust to those glorious, airy holes inside! Nothing compares to the intoxicating scent of loaves coming straight out of your oven, and with this recipe, you’ll impress even your toughest bread critics.
Why You’ll Love This Recipe
- Bakery-Style Results at Home: With a few simple ingredients and clear steps, you’ll bake artisan-quality Ciabatta Bread without any fancy equipment.
- Irresistible Crust & Airy Interior: That signature crisp exterior and open, chewy crumb make every slice delightful on its own or as the foundation for your favorite sandwiches.
- Hands-Off, Flavor-Building Rise: The long sponge fermentation means most of the work happens while you’re sleeping, developing nuanced, complex flavors.
- Incredibly Versatile: Enjoy it as a table bread, use it for panini, dunk it in soups, or layer it with toppings for bruschetta—the possibilities are endless!

Ingredients You’ll Need
You’ll be amazed how just a handful of staple pantry ingredients, blended and given time, can transform into truly exceptional Ciabatta Bread. Each one is chosen to highlight texture, support long fermentation, and coax out beautiful golden color in every loaf.
- All-Purpose Flour: The star ingredient, offering the structure for a chewy crumb yet keeping the bread light and airy.
- Instant Yeast: Gives the bread its essential lift—just a small amount infuses the dough with life and flavor.
- Water (room temperature): Hydrates the flour and helps create those signature ciabatta air pockets; don’t skimp on water, as a wetter dough makes the bread light!
- Salt: Essential for seasoning the dough and bringing out deep, balanced flavors in each bite.
- Whole or 2% Milk (room temperature): Adds a hint of richness for a tender crumb without making the loaf heavy.
Variations
Once you master the classic Ciabatta Bread loaf, it’s so fun (and incredibly easy) to put your own twist on things. Play with add-ins or swap ingredients to fit a craving, dietary swap, or a new adventure in flavor.
- Olive Ciabatta: Knead in chopped Kalamata or green olives for briny bursts in every bite—perfect for serving with Mediterranean spreads.
- Whole Wheat Ciabatta: Swap up to half the flour for white whole wheat flour for a deeper, earthier finish that’s extra satisfying and a bit more wholesome.
- Herb-Infused: Add fresh chopped rosemary, thyme, or sage with the final dough mix for an aromatic bread destined for dipping in olive oil.
- Seeded Top: Sprinkle sesame, poppy, or sunflower seeds on top before baking to add crunch and visual appeal.
How to Make Ciabatta Bread
Step 1: Make the Sponge (Preferment)
In a medium bowl, stir together the flour, yeast, and water for the sponge until a shaggy, sticky dough forms. It might seem simple, but this mixture is the secret to that rich, slightly tangy flavor. Cover it tightly with plastic wrap and let it rest at room temperature for a minimum of 8 hours (overnight works wonders!), and up to 24 hours if you love big flavor.
Step 2: Mix the Dough
Transfer your bubbly, beautiful sponge to a stand mixer bowl. Add the remaining flour, salt, yeast, water, and milk. Mix on low speed using the paddle attachment just until everything’s combined and you’ve got a shaggy dough, then switch to medium-low for a few more minutes—scrape down as needed, you want a uniform but still sticky mass.
Step 3: Knead for Structure
Swap to the dough hook and let the mixer knead on medium for about 10 minutes. The dough should end up smooth, glossy, and super sticky (don’t panic—this high hydration is what makes ciabatta’s texture so divine!).
Step 4: First Rise
Scrape the dough into a large bowl, cover it snugly, and let it rise at room temperature until it’s doubled in size, about 1 hour. You’ll notice lots of bubbles and springiness—this is a good sign!
Step 5: Series of Folds
Lightly coat a spatula with nonstick spray and gently fold the dough: lift and fold the edges over to the center, turning the bowl as you go, eight times total. Cover and let rise another 30 minutes. Repeat this fold-and-rest once more, letting the dough double again—these folds gently develop the bread’s structure without deflating all those precious air bubbles.
Step 6: Shape & Final Proof
About an hour before baking, get your oven blazing hot (450°F) with a baking stone inside. Prepare flour-dusted parchment for easy handling. Turn the dough onto a well-floured surface, divide in two, and gently shape each piece into a rectangle, folding both ends in for structure. Place seam-side down on the parchment, dust with flour, and let them rest—small bubbles on top mean you’re almost there!
Step 7: Stretch, Bake & Cool
Before baking, use floured fingertips to stretch each loaf into that classic ciabatta rectangle, then spray lightly with water for crisp crust. Slide onto your baking stone—spritz the loaves a couple more times during the first 5 minutes in the oven to encourage that irresistible crust. Bake until deeply golden and hollow-sounding, then let the loaves cool completely on a rack before slicing (I know it’s hard to wait!).
Pro Tips for Making Ciabatta Bread
- Hydration is Key: Don’t be tempted to add more flour—this dough’s stickiness is what yields that open, “holey” interior. Wet or floured hands make handling a breeze.
- Gentle Shaping, Always: Avoid kneading or pressing too hard when turning out or shaping the dough—protect those airy bubbles for textbook ciabatta texture.
- Steam for Epic Crust: Spraying the loaves with water and baking with a stone helps develop an extra-thick, crunchy crust—totally worth it!
- Patience Pays Off: Let the bread cool completely before slicing. This locks in the moisture and keeps your slices gorgeous and not gummy.
How to Serve Ciabatta Bread
Garnishes
A classic drizzle of extra-virgin olive oil, a sprinkle of flaky sea salt, or a rub of fresh garlic on warm slices brings pure, rustic magic to your homemade Ciabatta Bread. For bolder flavor, try a touch of herbed butter or a swipe of pesto—you’ll elevate every bite!
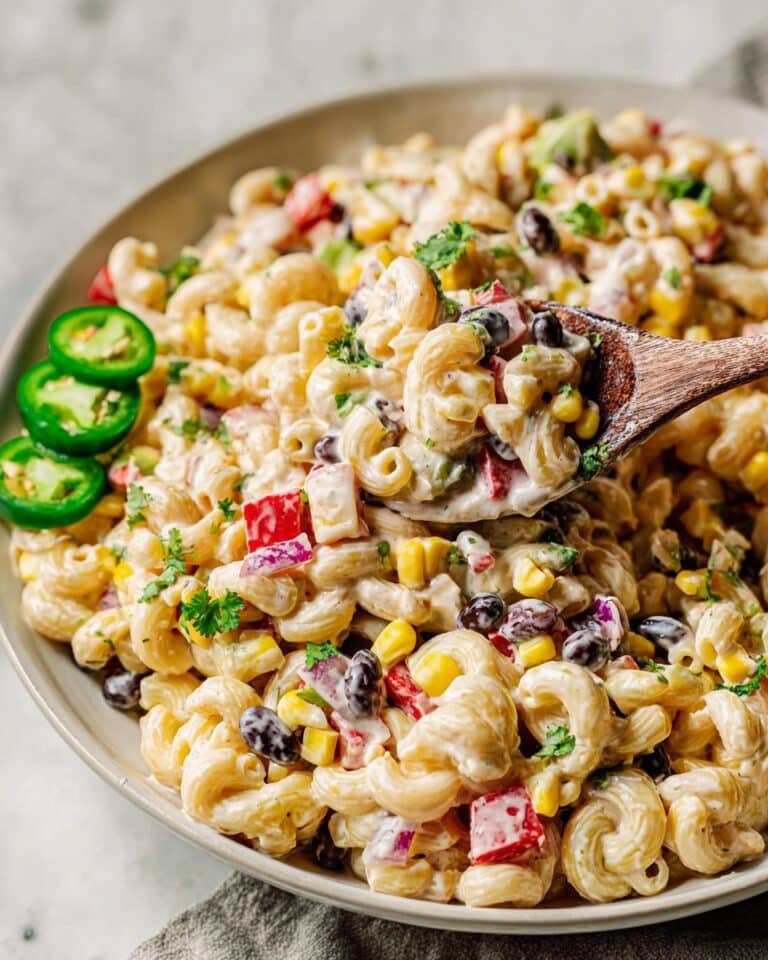
Side Dishes
Ciabatta Bread makes a dream partner for hearty soups (think minestrone or roasted tomato basil), all kinds of salads, or a decadent cheese and charcuterie platter. It’s sturdy enough for savory sandwiches and perfect for soaking up pasta sauces or stews.
Creative Ways to Present
Try slicing diagonally and lightly grilling for a crisped, smoky bruschetta base, or cube for rustic croutons in a Panzanella salad. For entertaining, serve mini ciabatta sandwiches with vibrant fillings, or let warm torn pieces anchor an antipasto spread—simple, elegant, utterly mouthwatering.
Make Ahead and Storage
Storing Leftovers
Keep your leftover Ciabatta Bread wrapped in a double layer of plastic wrap at room temperature for up to three days. It stays surprisingly fresh and delicious—just slice what you need and rewrap the rest tightly to lock in all that moisture.
Freezing
To freeze, add a layer of foil over the plastic-wrapped loaf and stash in your freezer for up to one month. Thaw at room temperature, still wrapped, so the crumb stays soft and the crust revives beautifully when reheated.
Reheating
If your ciabatta needs a little “bakery fresh” revival, place the whole (unwrapped) loaf in a hot 450°F oven for around 6–8 minutes. The crust crisps back up, the inside stays plush, and no one will ever know it wasn’t just baked!
FAQs
-
Why is my ciabatta dough so sticky?
Great question! Ciabatta Bread dough is supposed to be sticky and very wet—this high hydration is what creates those signature open holes and chewy texture. Use well-floured hands and a bench scraper for easy handling.
-
Can I make ciabatta without a stand mixer?
You can! It takes more elbow grease and a sturdy wooden spoon, but you can mix and knead by hand—just expect the dough to stay sticky and be sure not to knead in extra flour.
-
Do I really need to wait an hour before slicing?
Waiting at least an hour is best, as it lets the crumb set and prevents gumminess. If you slice early, you may flatten the bread or end up with a slightly doughy interior—worth the patience, I promise!
-
Can I double the recipe for a crowd?
Absolutely! Just double all ingredients and be sure to allow adequate bowl and oven space. Shape as four smaller loaves or two large ones—this Ciabatta Bread is a showstopper on big tables!
Final Thoughts
There’s nothing quite like filling your kitchen with the smell (and taste!) of lovingly homemade Ciabatta Bread. Whether you’re a first-timer or a seasoned bread enthusiast, these loaves promise golden crusts, chewy goodness, and endless possibilities. Give this recipe a try, and let it become a new staple in your bread-baking rotation—you’ll never look at store-bought quite the same way again!
Print
Ciabatta Bread Recipe
- Prep Time: 1 hour
- Cook Time: 25 minutes
- Total Time: 11 hours 25 minutes
- Yield: 18 servings (2 loaves)
- Category: Bread
- Method: Baking
- Cuisine: Italian
- Diet: Vegetarian
Description
Learn how to make delicious homemade Ciabatta Bread with this easy-to-follow recipe. This rustic Italian bread has a crisp crust and a chewy interior, perfect for sandwiches or dipping in olive oil.
Ingredients
For the Sponge:
- 1 cup (130 g) all-purpose flour
- 1/8 teaspoon instant yeast
- 1/2 cup (120 ml) water, at room temperature
For the Dough:
- 2 cups (260 g) all-purpose flour
- 1 1/2 teaspoons salt
- 1/2 teaspoon instant yeast
- 3/4 cup (180 ml) water, at room temperature
- 1/4 cup (60 ml) whole or 2% milk, at room temperature
Instructions
- Make the Sponge: Combine the 1 cup flour, ⅛ teaspoon yeast, and ½ cup water in a medium bowl and stir until a uniform mass forms. Let stand covered at room temperature for 8-24 hours.
- Make the Dough: Combine sponge and dough ingredients in a stand mixer. Mix until a shaggy dough forms, then knead until smooth and shiny. Let rise until doubled in size.
- …
Notes
- This bread is best enjoyed fresh but can be stored for a few days at room temperature or frozen for longer preservation.
- Ensure the parchment paper is generously floured to prevent sticking during baking.
Nutrition
- Serving Size: 1 slice (approx. 50g)
- Calories: 140
- Sugar: 0.5g
- Sodium: 250mg
- Fat: 0.5g
- Saturated Fat: 0g
- Unsaturated Fat: 0.5g
- Trans Fat: 0g
- Carbohydrates: 29g
- Fiber: 1g
- Protein: 4g
- Cholesterol: 0mg


