
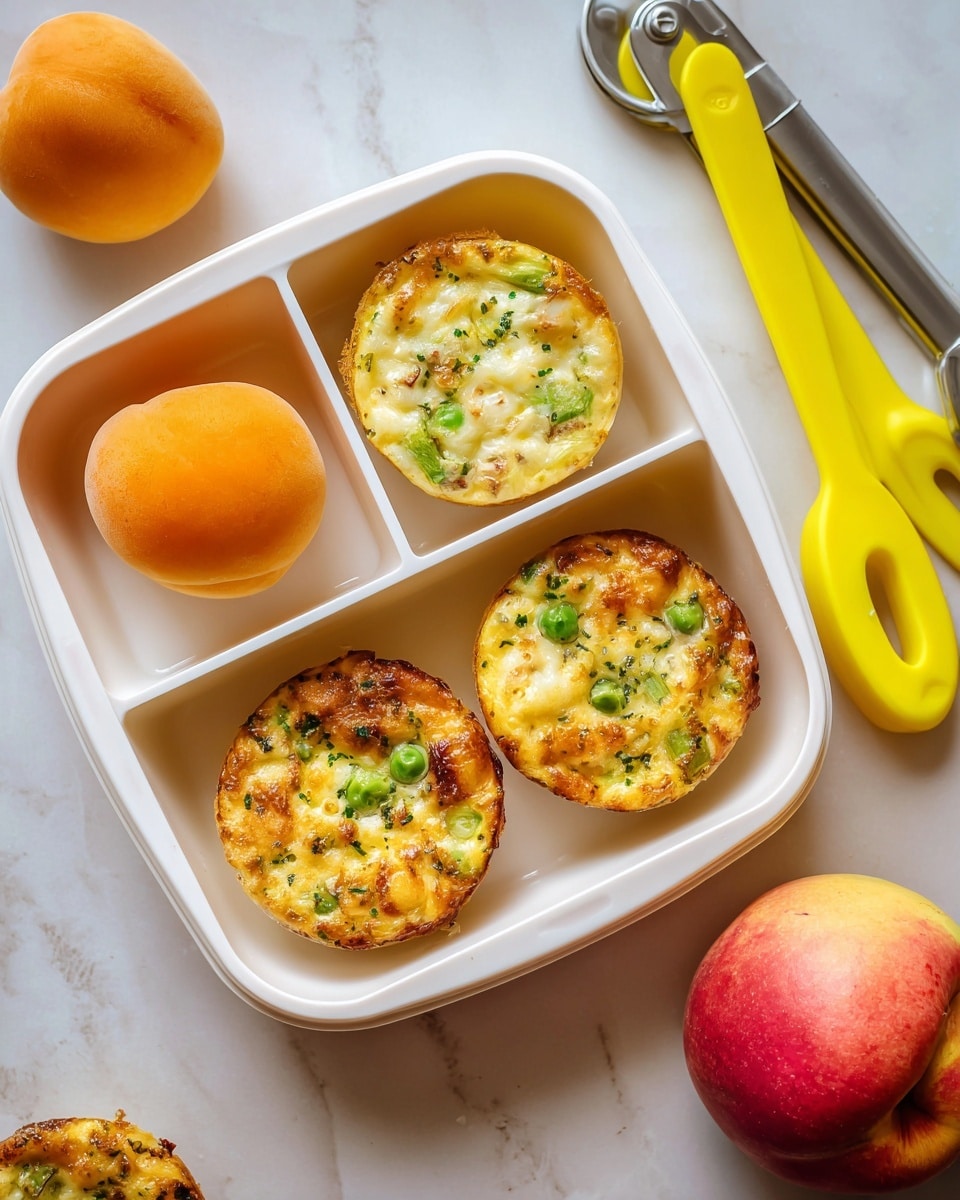
I absolutely love this Tuna Quiches Recipe because it’s such an easy, satisfying dish that fits perfectly into busy weeknights or laid-back weekend brunches. The combination of flaky puff pastry with cheesy, protein-packed filling makes it a real crowd-pleaser—I swear, my family goes crazy for these little quiches! Plus, they’re incredibly forgiving and simple to whip up, which is a lifesaver when you want something homemade without spending hours in the kitchen.
When I first tried this Tuna Quiches Recipe, I was surprised at how well the flavors came together. You get the creamy texture from the eggs and cheese, the sweet pops from peas and corn, and that savory punch from the tuna. If you’re looking for a recipe that’s quick, adaptable, and perfect for meal prep or entertaining, this one’s definitely worth trying out.
Why You’ll Love This Recipe
- Quick and Simple: You can get these tuna quiches in the oven in under 10 minutes with minimal prep.
- Versatile Ingredients: Frozen veggies and canned tuna make this a budget-friendly pantry-friendly meal.
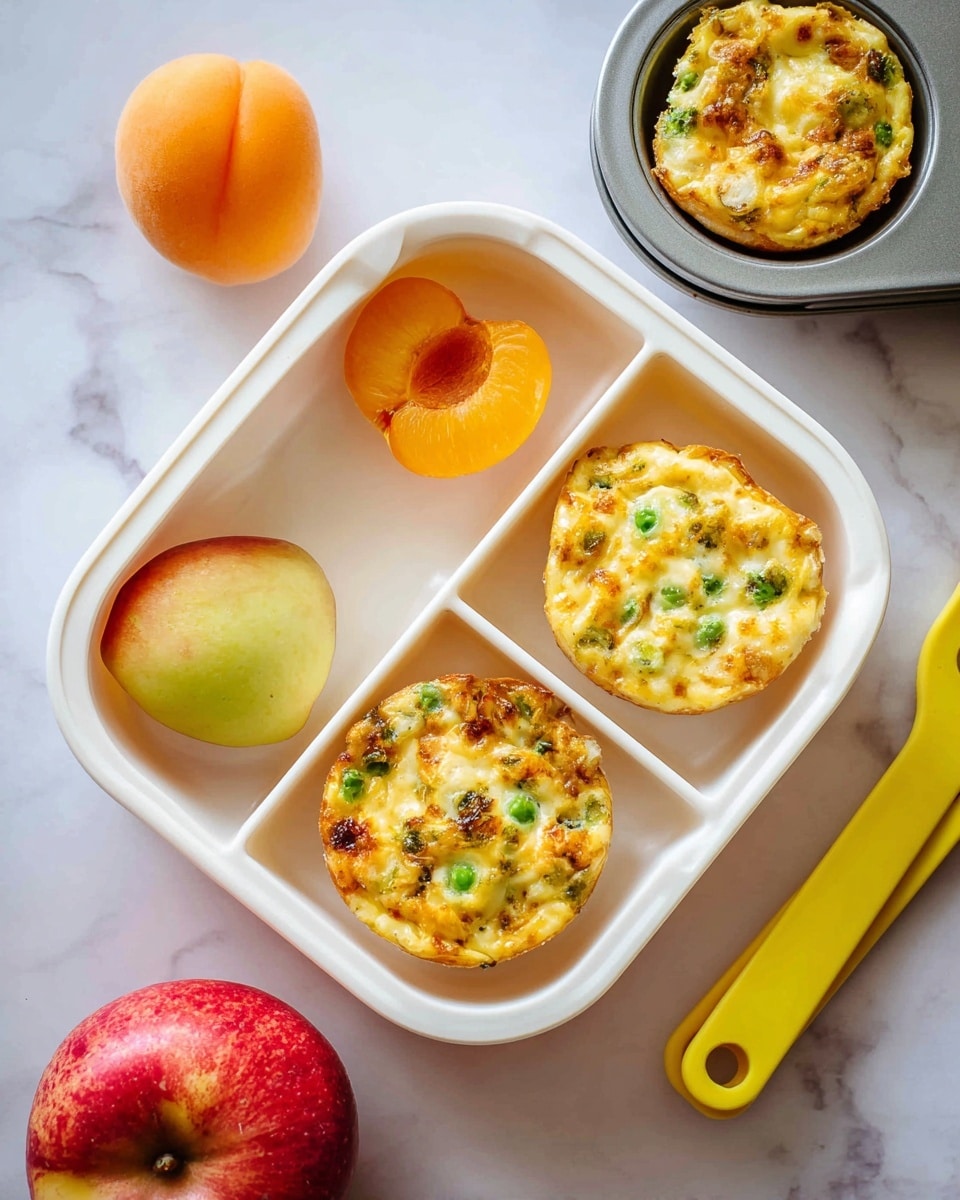
- Perfect for Any Meal: They work as snacks, appetizers, lunchboxes, or even a light dinner with a side salad.
- Kid-Friendly: My kids love how cheesy and tasty these quiches are, and it’s an easy way to sneak in some veggies.

Ingredients You’ll Need
These ingredients are a straightforward bunch that come together for a perfect balance of flavors and textures. Using frozen peas and corn means you can keep these quiches ready to assemble anytime without worrying about fresh produce going bad.
- Tuna: Drain well for best texture; try flavored tuna tins to mix things up.
- Eggs: They bind everything together and give that creamy quiche filling.
- Milk: Adds moisture; whole or 2% milk works best for richness.
- Frozen peas: Add a pop of sweetness and bright color without prep work.
- Frozen corn: Sweet and crunchy, perfectly balancing the savory ingredients.
- Grated cheddar cheese: Sharp cheddar shines here for a punch of flavor.
- Spring onions: Fresh bite and a mild onion flavor that pairs beautifully.
- Puff pastry sheets: Defrost before use; they bake into golden, flaky shells.
Variations
One of the things I love most about this Tuna Quiches Recipe is how easy it is to customize based on what you have or prefer. I often toss in different veggies or swap cheeses depending on my mood—or whatever’s left in the fridge! Feel free to make it your own and experiment.
- Vegetable Swap: I’ve tried adding diced bell peppers or spinach instead of peas and corn for an extra veggie boost, and it works beautifully.
- Cheese Variety: Mixing in some grated parmesan or feta adds nice tang and changes the flavor profile to keep things interesting.
- Dairy-Free Option: Use a plant-based milk and a vegan cheese alternative to make these quiches dairy-free without losing flavor.
- Spice It Up: Adding a pinch of smoked paprika or chili flakes gives it a subtle kick that my spice-loving friends adore.
How to Make Tuna Quiches Recipe
Step 1: Preheat and Prep the Pastry Shells
First things first, get your oven heated to a nice hot 220°C (428°F). It needs to be hot enough so that the puff pastry puffs up beautifully and crisps to golden perfection. While the oven warms, take your defrosted sheets of puff pastry and cut out circles to fit nicely into your muffin pan cups. These don’t have to go all the way up the sides; just a base that holds the filling is perfect.
Step 2: Mix the Filling Ingredients
In a mixing bowl, whisk together the eggs and milk until smooth. Then stir in the grated cheddar cheese, drained tuna, frozen peas, corn, and sliced spring onions. The filling looks colorful and vibrant and smells wonderful at this stage. The frozen veggies won’t need thawing first because they’ll cook just right in the oven.
Step 3: Fill and Bake
Now spoon about a tablespoon of the filling into each pastry shell—you don’t want to overfill as the eggs will puff slightly while baking. Place the muffin tin in the oven and bake for about 20 minutes, or until the quiches are golden brown on top and the filling is fully set. You’ll know they’re done when you see a slight jiggle stop in the center and the edges look crisped.
Step 4: Cool and Enjoy
Once done, let the quiches cool for about 5 minutes in the muffin tin before carefully removing them. I like to transfer them to a wire rack so they don’t get soggy underneath. They’re best enjoyed warm, but they’re also great at room temperature or even chilled later!
Pro Tips for Making Tuna Quiches Recipe
- Drain Tuna Thoroughly: Excess liquid can make your quiches soggy—pat the tuna dry before mixing.
- Don’t Overfill Pastry Shells: Filling too much can cause spills and uneven cooking, so stick to about a tablespoon per shell.
- Use a Hot Oven: Baking at 220°C ensures the pastry puffs nicely and the filling cooks quickly without drying out.
- Prepare Pastry Just Before Baking: Keep your puff pastry chilled and only prepare it right before baking to get maximum flakiness.
How to Serve Tuna Quiches Recipe
Garnishes
I like to sprinkle a little extra chopped spring onion or fresh parsley over the quiches just before serving. Sometimes a dollop of sour cream or a light drizzle of hot sauce adds a nice tangy contrast. These small touches really brighten the flavors and make the presentation pop.
Side Dishes
I often pair these Tuna Quiches with a fresh green salad tossed in lemon vinaigrette or some simple roasted veggies. If I’m serving them for brunch, they’re perfect alongside sliced avocado and a handful of olives. The balance keeps things light but satisfying.
Creative Ways to Present
For special occasions, I’ve arranged these tuna quiches on a large platter topped with edible flowers and paired with colorful dipping sauces like a spicy aioli or herby yogurt dip. Using mini muffin tins for bite-sized versions is perfect for parties or finger food settings, and they always get compliments!
Make Ahead and Storage
Storing Leftovers
I store leftover tuna quiches in an airtight container in the fridge, stacking a little parchment paper between layers to keep them from sticking. They stay good for up to 3 days and make excellent grab-and-go snacks or quick meals the next day.
Freezing
These quiches freeze really well! Lay them flat on a tray to freeze individually first, then transfer to a freezer-safe container or bag. This way, you can reheat just the amount you need without thawing the whole batch.
Reheating
To reheat, I pop them into a preheated oven at 180°C (350°F) for about 10 minutes until warmed through and crisp again. Avoid microwaving if you want to keep that flaky, crispy texture intact.
FAQs
-
Can I use fresh vegetables instead of frozen for this Tuna Quiches Recipe?
Absolutely! Fresh peas and corn can be used if you prefer, just make sure they’re blanched or cooked slightly beforehand to avoid releasing too much moisture into the filling, which might make the quiches soggy.
-
What type of tuna works best in this recipe?
I usually use canned tuna in water that’s well drained for a lighter version, but tuna in oil can add extra flavor and richness if that’s your preference. Flavored tuna tins are also a great shortcut to boost taste without extra seasoning.
-
Can I make mini tuna quiches for parties?
Yes, using mini muffin tins works perfectly for bite-sized quiches. Just reduce the baking time slightly, checking often to ensure they don’t overcook.
-
Is it possible to make this recipe ahead of time?
Definitely! You can assemble the quiches and keep them refrigerated for a few hours before baking or bake in advance and reheat when needed. They hold up well and keep their flavor and texture.
-
How do I prevent the pastry from getting soggy?
Drain your tuna really well, don’t overfill the pastry shells, and bake at a high temperature for optimal puff and crispiness. Cooling on a wire rack also helps avoid sogginess from trapped steam.
Final Thoughts
This Tuna Quiches Recipe has become a go-to in my kitchen for its simplicity and crowd-pleasing flavor. It’s one of those recipes you can rely on when you want something homemade, delicious, and fuss-free. I really hope you enjoy making and sharing these quiches as much as I do—they’re the kind of treats that bring smiles and happy appetites around the table every time.
Print
Tuna Quiches Recipe
- Prep Time: 5 minutes
- Cook Time: 20 minutes
- Total Time: 30 minutes
- Yield: 18 quiches
- Category: Appetizer
- Method: Baking
- Cuisine: British
Description
These Tuna Quiches are deliciously savory mini tarts made with tuna, eggs, cheese, and vegetables encased in buttery puff pastry. Perfect as bite-sized snacks or a light meal, they’re easy to prepare and bake to golden perfection.
Ingredients
Quiche Filling
- 95 g tin of tuna, drained
- 3 eggs
- ½ cup of milk
- ½ cup frozen peas
- ½ cup frozen corn
- ¾ cup grated cheddar cheese
- 2 spring onions, chopped
Pastry
- 2 sheets puff pastry, defrosted
Instructions
- Preheat Oven: Preheat your oven to 220 degrees Celsius (428°F) to ensure it is ready for baking the quiches.
- Prepare Filling: In a bowl, thoroughly mix together the eggs, milk, grated cheddar cheese, drained tuna, frozen peas, frozen corn, and chopped spring onions until well combined.
- Prepare Pastry Shells: Cut circles from the defrosted puff pastry sheets sized to fit your muffin pans. The pastry does not need to be molded up the sides of the muffin cups.
- Fill Pastry: Spoon about 1 tablespoon of the prepared egg mixture into each pastry circle placed in the muffin pan, distributing evenly among the molds.
- Bake: Bake the quiches in the preheated oven at 220 degrees Celsius (428°F) for 20 minutes or until the quiches turn golden brown and the filling is fully set.
- Cool: Remove the quiches from the oven and allow them to cool in the pan for 5 minutes before transferring them to a wire rack to cool completely.
Notes
- Freezer Friendly: These quiches can be frozen flat, then transferred to a container for longer storage.
- Want more flavour? Try using different flavored tuna tins such as those infused with herbs or spices.
Nutrition
- Serving Size: 1 quiche
- Calories: 110
- Sugar: 1.5g
- Sodium: 210mg
- Fat: 7g
- Saturated Fat: 3.5g
- Unsaturated Fat: 2.5g
- Trans Fat: 0g
- Carbohydrates: 7g
- Fiber: 0.5g
- Protein: 6g
- Cholesterol: 70mg


